
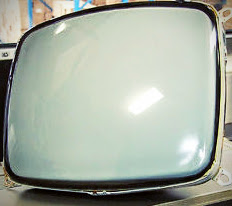
With the core components of my TRS-80 Model 4 PC working and looking good, the next step was to get my case bezel ready to accept the different shaped 12″ LCD display to replace the previous 30 year old 12″ square CRT.
First step was to take some measurements using some marked cardboard pieces to ensure the size of the new LCD display would fit nicely. Making a piece of cardboard to represent the CRT made it safer and easier to figure out what would be necessary to fit the screen into the older computer without damaging it.
While the LCD was a great size for the computer, the fact that the original CRT was curved meant the black plastic bezel was shaped to fit it which meant that there would be gaps on the top and bottom of the LCD when it would be in place.
Placing the cardboard in place it was clear I would need to get creative and come up with something to first shape up the plastic to match the square LCD then to build up the bezel areas that are lacking. After some early thoughts and research I seriously considered InstaMorph – Moldable Plastic which seems very interesting. But ultimately I chose a different path, something others trying to solve similar problems also tried, but something I hadn’t ever done before… use Bondo on something other than a car.

Bondo bezel for TRS-80 Model 4 PC
The process was a bit of trial and error, working with the cardboard cutout as the final LCD shape I needed to have framed I slowly mixed and then applied the bondo and tried to make it as smooth as possible to reduce the amount of sanding and shaping needed later. But alas, it was not as easy as I hoped to make it smooth.
Letting it dry it became very clear that I was going to need to do a good job at sanding it smooth and making the corners look good. Shaping the Bondo proved harder than expected and it took quite a while to wear it down with sandpaper. Ultimately I only got it to a level where the shape was good, but the texture was marred with groves and scratches where the sanding or the application of the Bondo was less than stellar. After another attempt at applying Bondo and another fun effort of sanding I decided that I would use this level of work as the foundation for the finishing touches and used normal Spackling Putty to smooth out the rough spots. This allowed me to make the texture more closely match the outer casing. One of my better decisions.
After a bit more touch up sanding, I wiped down the case with a damp cloth and taped of the whole case with plastic to cover everything except for the new bezel. At which point I put on the first coat of flat black paint on the bezel. Even after the first coat the look was right on track. After the proper drying time, I added a second coat and the look was complete.
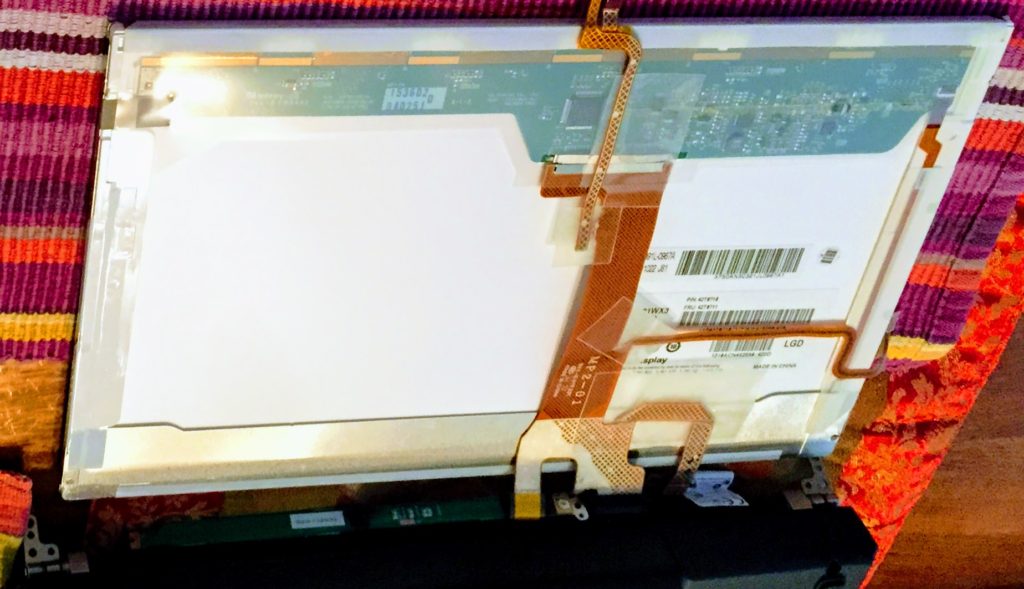
Next step was to mount the laptop screen and computer within the case. Because I have the LCD removed from the top case of the laptop, I was able to thread the laptop connector through the gap of the two cases and close the top of the laptop and then reconnect the LCD to the connector. This allows me to have the LCD fit the bezel portal and keep the computer behind the scenes in the case.
Not being the most patient person when it comes to playing around with my newest electronics and computers I decided I would clean up the case with a couple of simple cleaning tools, though the Mr. Clean Magic Eraser worked very well on most of the scuffs and dirt collected over 30 years.
Next I decided to see how it all looked when assembled. I hadn’t really come up with the best solution to hold the LCD inside against the backside of the bezel. So I snapped the exposed docking station board that I had already wired up to the on/off orange button on the TRS-80 keyboard. Next I flipped over the top side of the TRS-80 Model 4 case and set the laptop inside on the inside of the TRS-80s top (with the docking station board against the vents on the TRS-80). Next, because the LCD was on the outside of the laptop now, I simply tilted it up against the bezel portal and just winged it with some black tape from the inside. (Something more permanent would be for a later date)
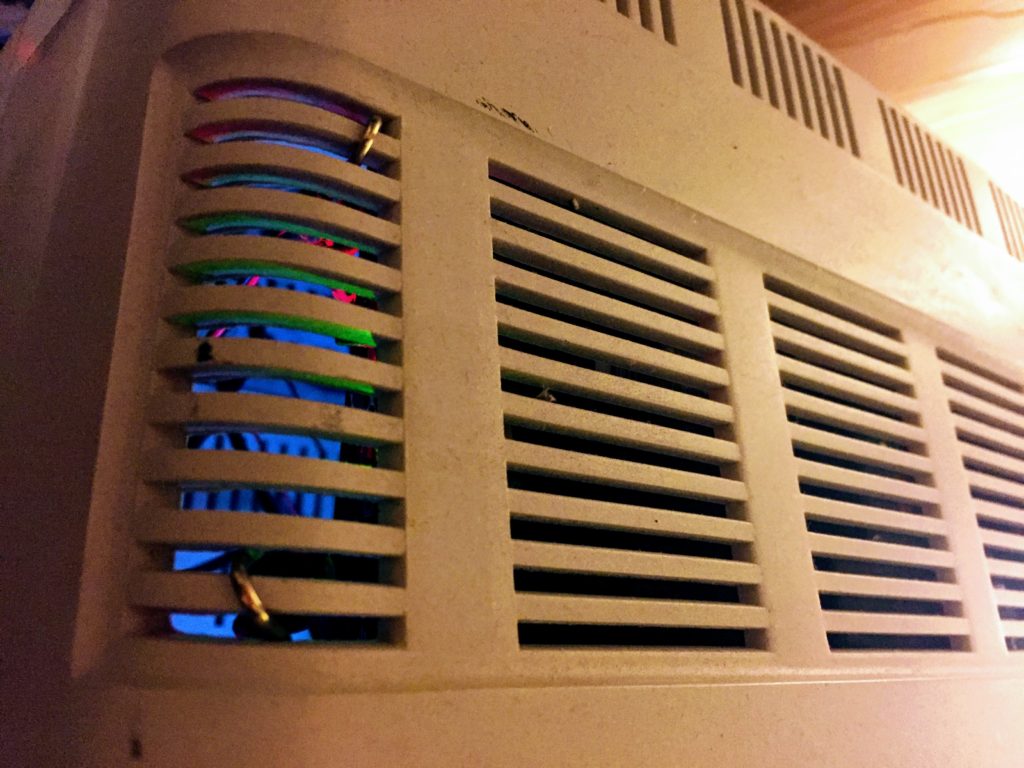
 Next issue was how to keep the laptop from moving and disconnecting from the LCD (or worse tearing the connector from the LCD), I decided I needed to McGyver it… I busted out a few of my tiny bungee cords that I never used till then (they were part of a bundle of different sized bungees, love those!), and simply strapped the computer down to the inside of the TRS-80s top. You can see the small gold hooks the are barely visible on the top when you look down on it.
Now this is not the final setup I plan, but it allows me to assemble the computer and test out the possibility of using this as my day-to-day computer.
Now that the computer was mounted and the LCD was in place, I added a simple USB hub to the inside to allow me to connect things like a mouse and other peripherals easily from the back port left open when I removed the previous guts. I also then plugged in the Pi3 Matrix Board which mapped the original 30 year old computer keyboard to a modern computer via a USB port.
The last step was to carefully flip over the top side of the TRS-80 which now contained the Lenovo laptop running Ubuntu Linux and place it down onto the base which contained the keyboard. I held my breath a little as I pushed the orange power button and…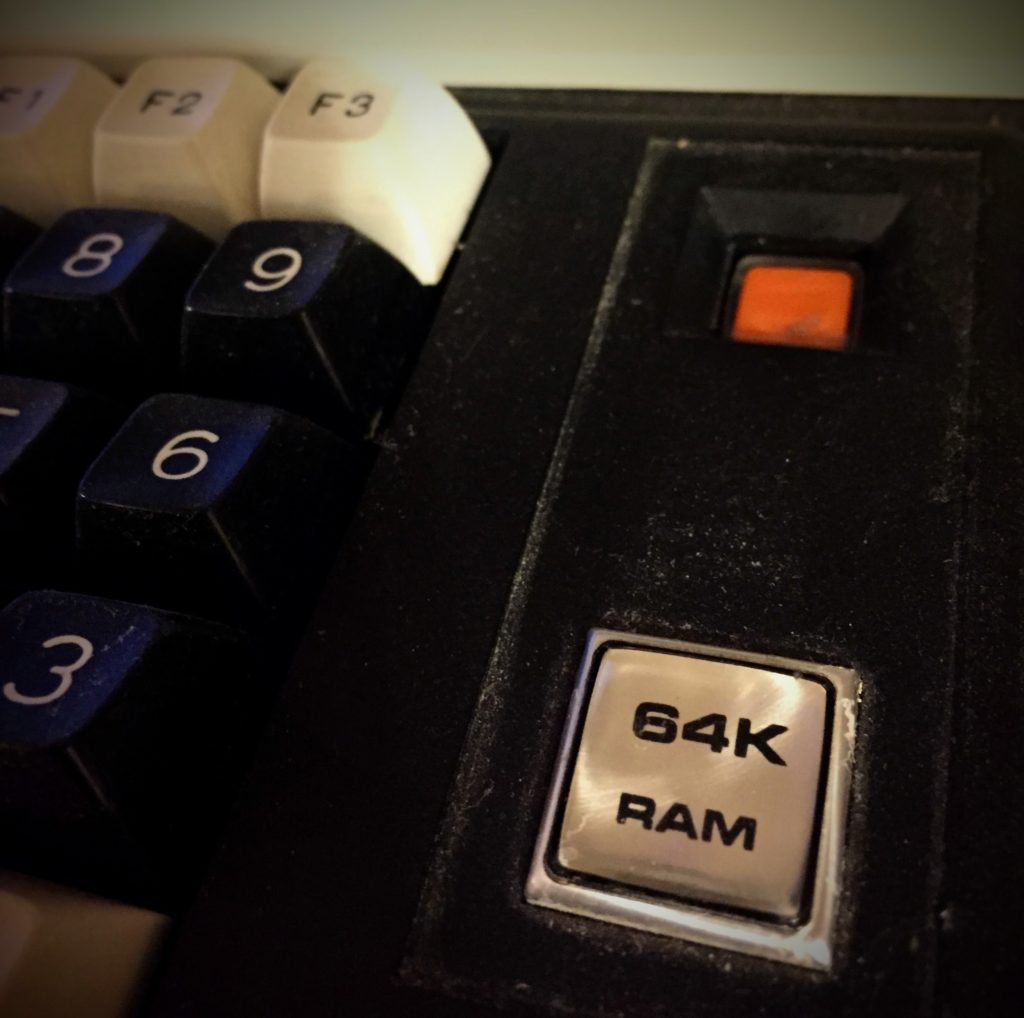
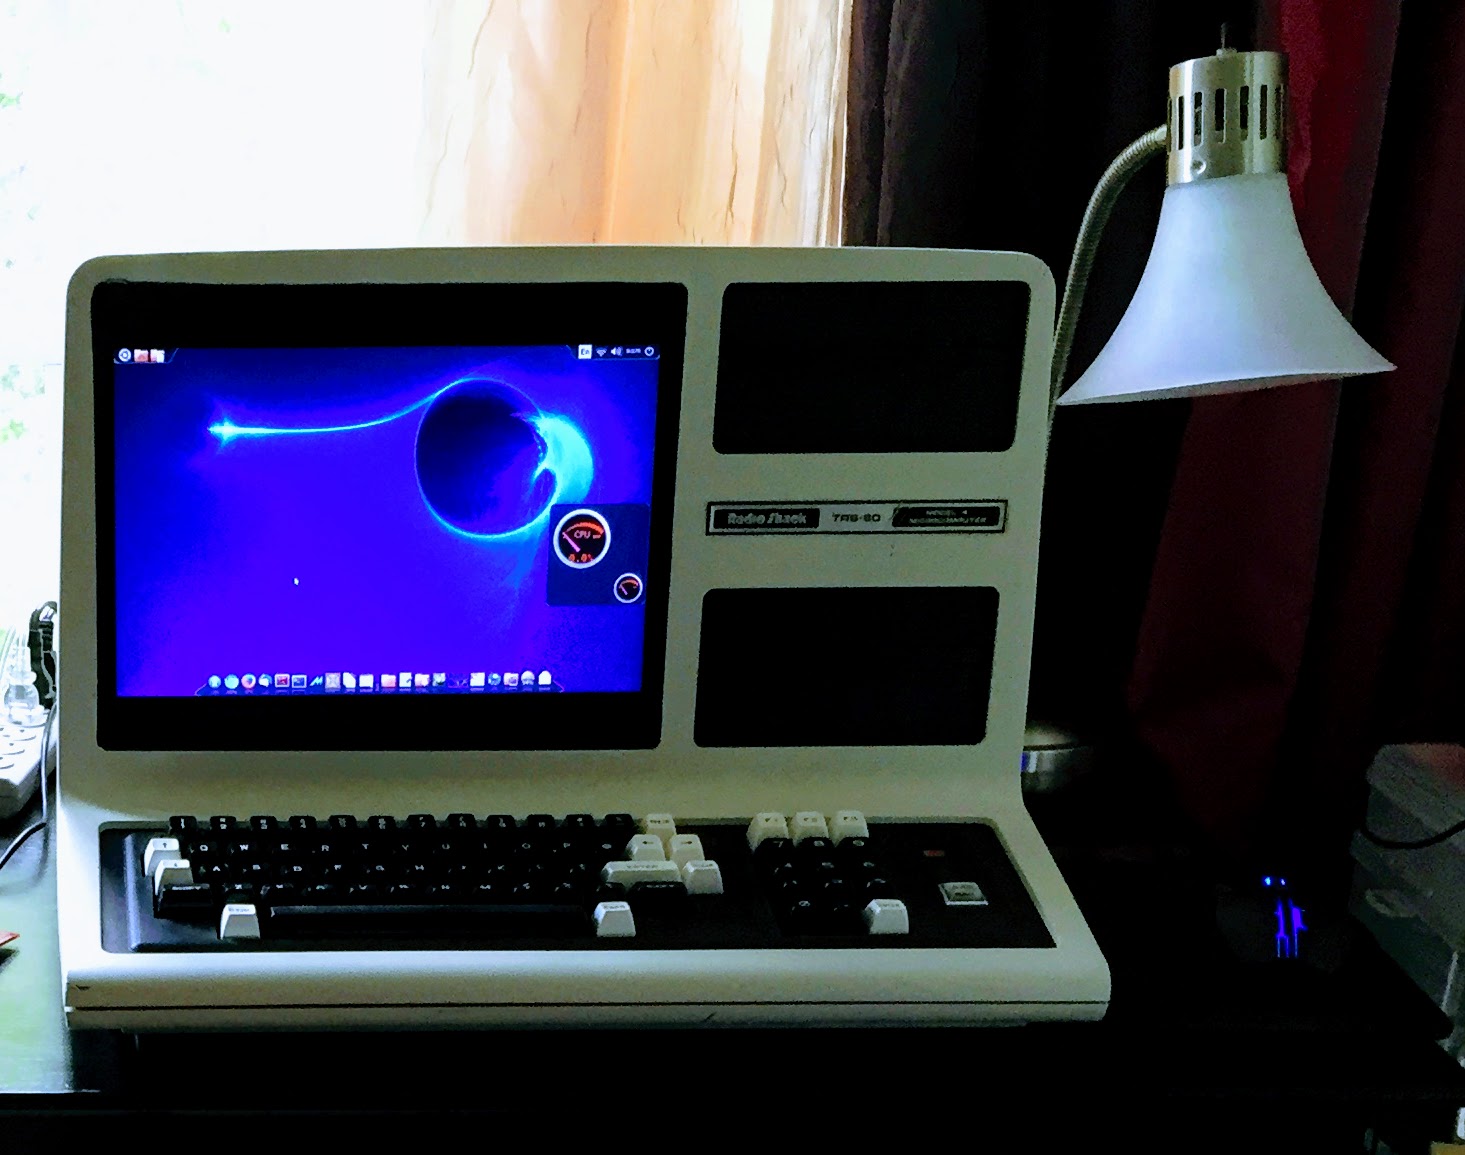
Success! It booted up into the Linux environment and it worked. The keyboard worked great, even though I have to occasionally use the F1 & F2 keys (as I had programmed to using the Pi3 Matrix board) to get to some of the keys only found on modern keyboards.
Today I still use this computer every single day. It is my main computer if only for the daily joy I get by reliving working or hours on my old TRS-80s for everyday games and coding. I continue to update this site using this computer and I have future upgrade plans to enhance the look even further.
In addition to considering other ways to mount the LCD within the computer, I plan to add a small red LED light to each of the plastic drive covers so they look more like real drives (since this TRS-80 never had disk drives). I will then connect those up to the Pi3 board to have a different drive light based on which mode the keyboard is in, main key settings (which happens when I push the F1 key) or alternative keys setting (tied to the F2 key on the TRS-80 keyboard).
This project was extremely fun and very satisfying when I got it all running. I plan on babying this thing as I decide on more enhancements.
I only had the guts to try this on my secondary TRS-80 Model 4 because my primary TRS-80 Model 4 is being restored to be all original parts and working condition with the original Z80 CPU powering the whole thing.
I will save that project for another write up, another day.
georbar 6d9e6a7a19 https://wakelet.com/wake/vAplph672us0JmCyZMdlQ
guivali 00dffbbc3c https://coub.com/stories/4328637-aqua-energizer-game-zip-registration-free-pro-32-download-crack
howxan 00dffbbc3c https://coub.com/stories/4283016-kkd-multi-exe-utorrent-cracked-full-version-build-windows-32
fabisaby 219d99c93a https://coub.com/stories/4360975-inssi-final-patch-windows-full-version-rar-registration-64
pancalb 219d99c93a https://coub.com/stories/4268568-mkv-the-friend-zone-eddie-powell-2012-watch-online-torrent-torrents-blu-ray-720
deimpeop 219d99c93a https://coub.com/stories/4384576-zip-solucionario-venero-matematica-basica-267-book-utorrent-pdf-free
redpnaet 219d99c93a https://coub.com/stories/4338976-zynaptiq-unveil-v1-5-0-r2r-exe-activator-build-windows-full-version-torrent
andeelv 219d99c93a https://coub.com/stories/4378427-fifa-08-download-zip-32-crack-pc-activation-professional
alywee 219d99c93a https://coub.com/stories/4261319-saathiya-subtitles-4k-watch-online-dubbed-watch-online-free
elfrwend 219d99c93a https://coub.com/stories/4327540-2k-termina-video-subtitles-avi-utorrent-dubbed
berrayk 219d99c93a https://coub.com/stories/4373061-pc-actia-multidiag-2013-vci-exe-64bit-activator-download-nulled
talavyg 219d99c93a https://coub.com/stories/4318961-garmin-friluftskarta-iso-latest-64-windows-full-patch
saksach 219d99c93a https://coub.com/stories/4248993-nissanconnectsdmapupdate-zip-license-pc-64bit-full-version-download
quigyess 219d99c93a https://coub.com/stories/4377519-rhi-ceros-5-rar-key-latest-windows-download-64bit
paeerb 219d99c93a https://coub.com/stories/4356027-full-version-sims-4-exten-iso-64bit-professional-crack
hamidei 219d99c93a https://coub.com/stories/4380967-ultimate-net-support-rar-x64-crack
benidab 219d99c93a https://coub.com/stories/4337919-jwplayer-ultimate-download-rar-full-version-cracked
namibay d9ca4589f4 https://wakelet.com/wake/XAZ5mWOdudtxQcKjK41JL
margemm d9ca4589f4 https://wakelet.com/wake/MKICyb49fYfPvaJX-1w1m
ulalderr d9ca4589f4 https://wakelet.com/wake/AjGiVByG4qe3tWMRtfa4m
vanovan d9ca4589f4 https://wakelet.com/wake/EfQETPoIr3xsZ1VGai8jz
eilimade d9ca4589f4 https://wakelet.com/wake/TkKD0GXvwga4_ocrPAP29
terecal d9ca4589f4 https://wakelet.com/wake/UwspSbt9CNbLmnmHJ0VJ8